Hello Crafty Friends!
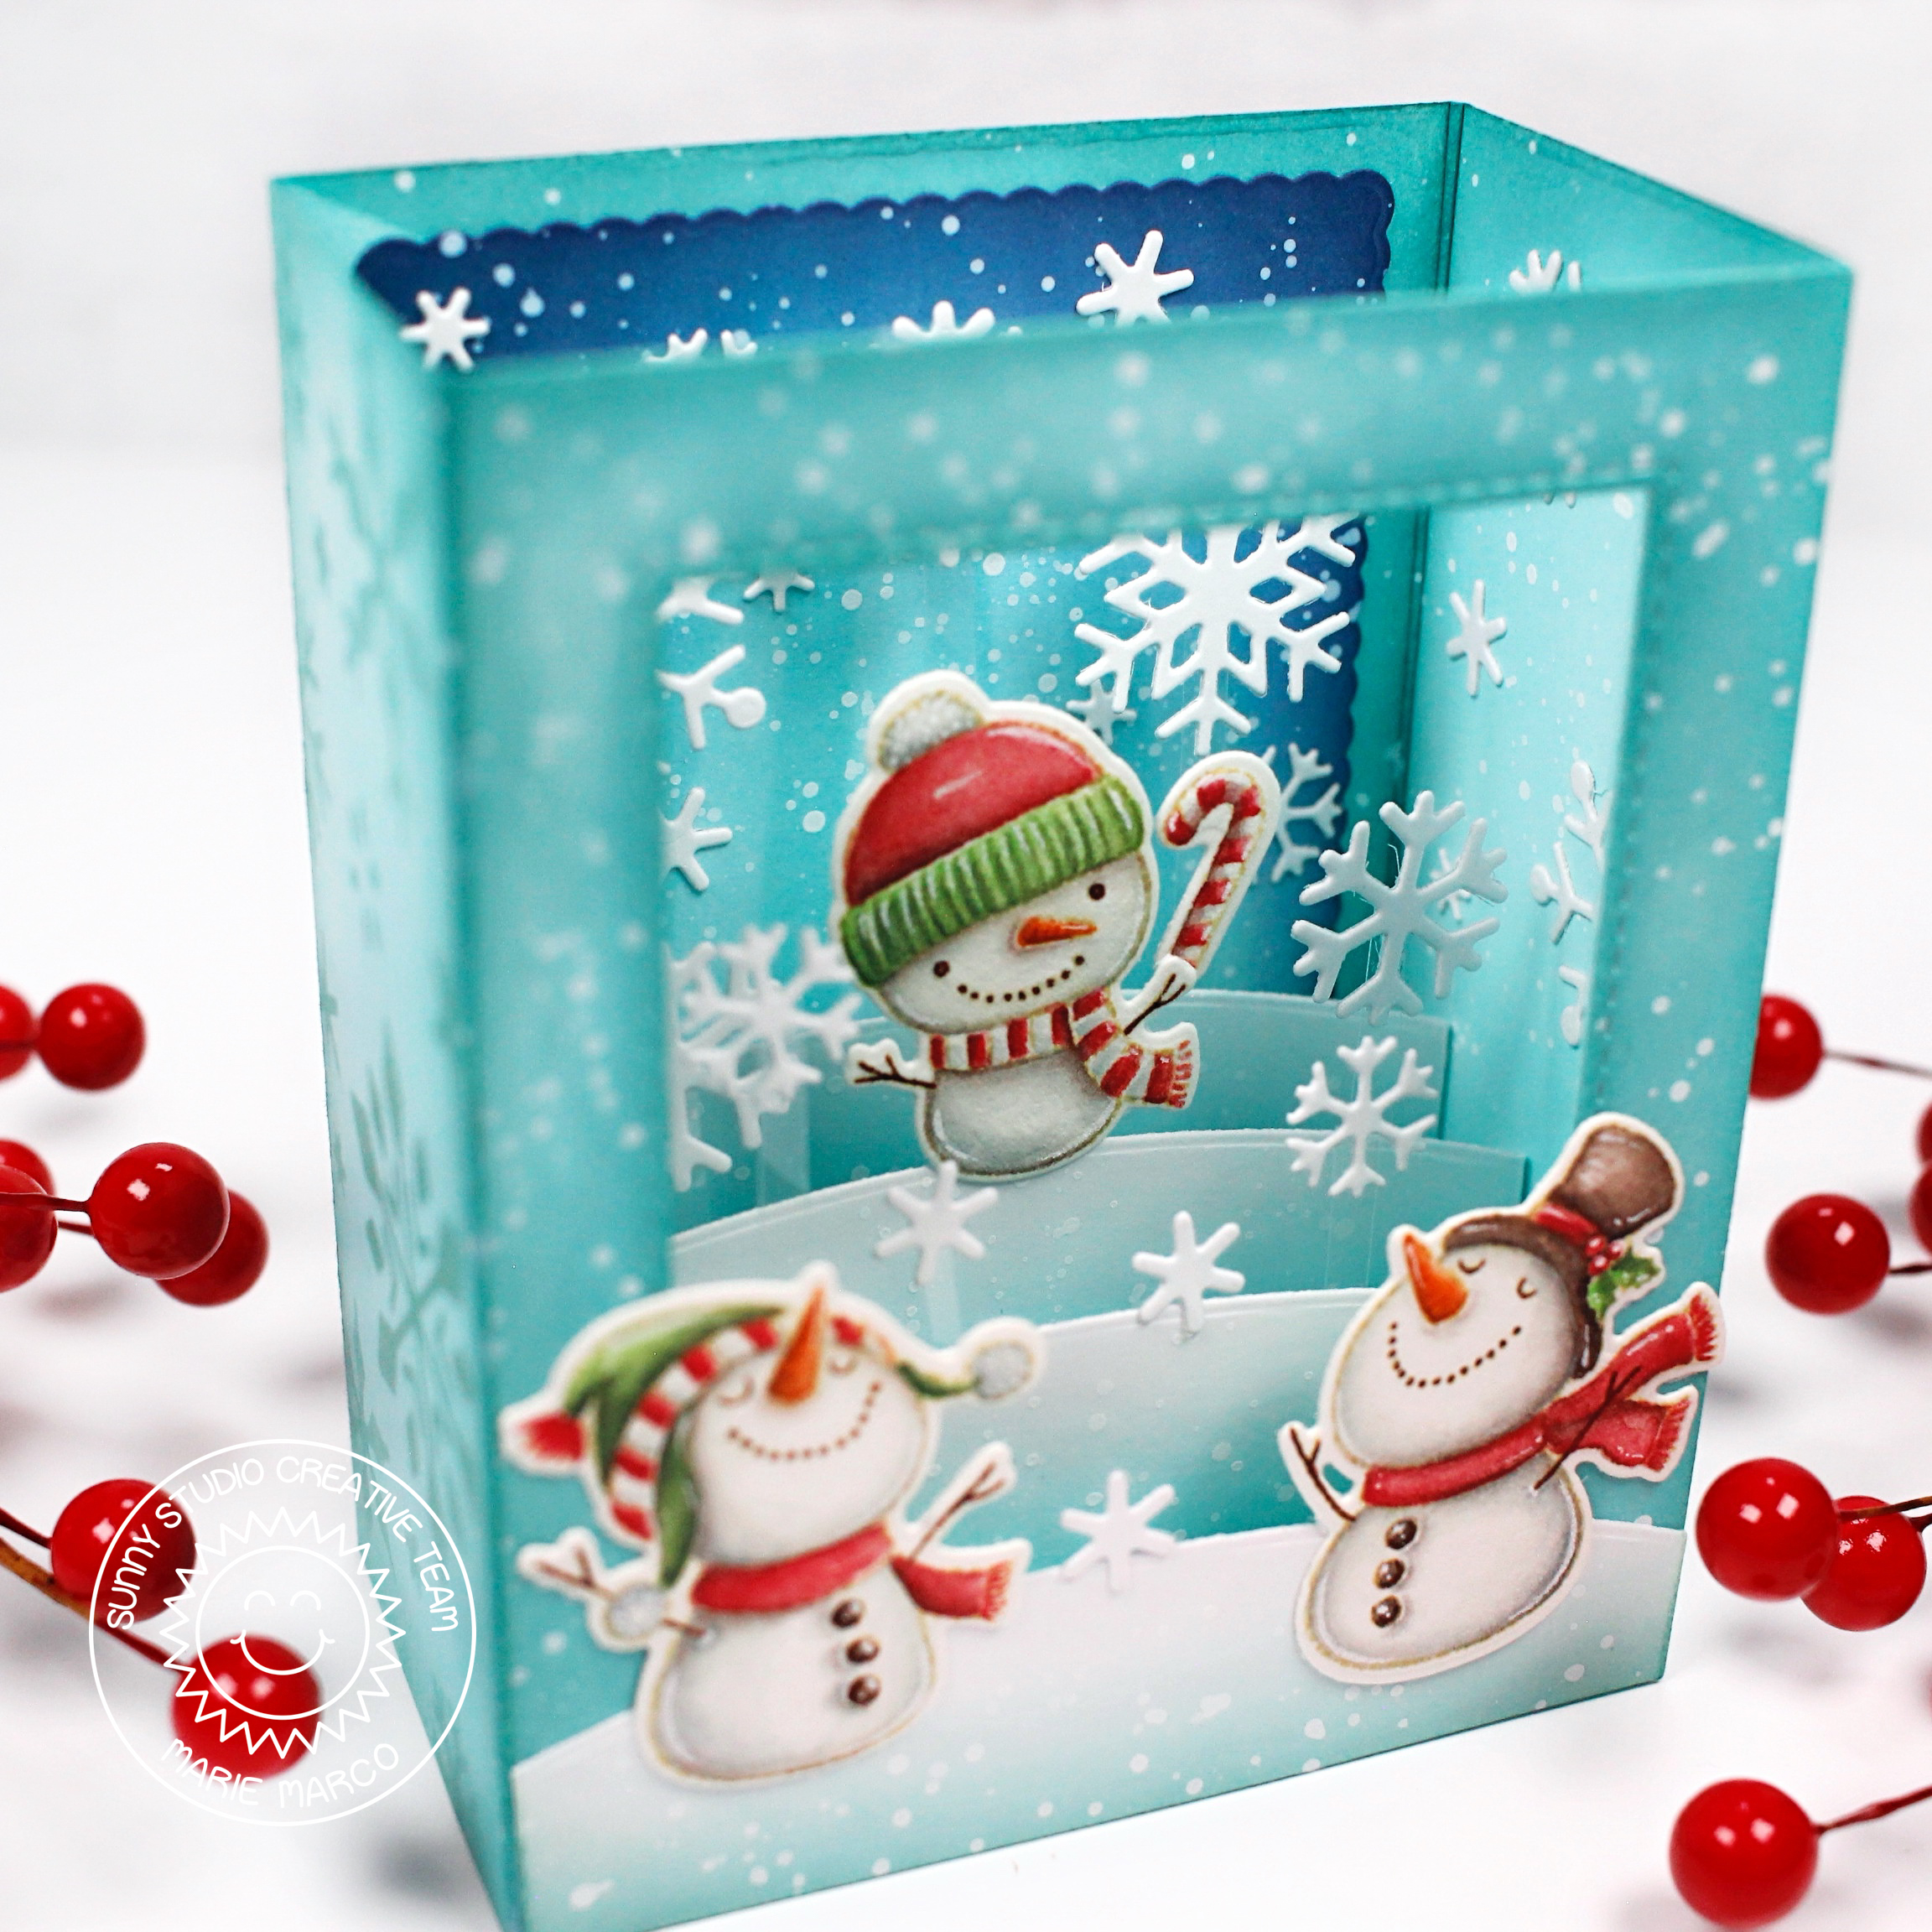
I hope you are all having a wonderful Holiday Season so far! Today I have another holiday card to share with you all featuring the cutest little snowmen images from Sunny Studio's Snowman Kisses Stamps . These little cuties are so fun to color with all their adorable expressions. You can highlight one or use all four like I did in this fun and festive shadow box card. For this card, I cut out all the pieces using a shadow box die from bristol smooth cardstock to make the inking process super easy and smooth. I ink blended all my pieces front and back, using Distress Ink Oxides in the Color Salvaged Patina. I darkened up the front and back of the box using Distress Ink in the color Pine Needles. For the background panel, I inked it using Salvaged Patina, Uncharted Mariner, and Chipped Sapphire. For the side and back of the box, I used a snowflake stencil with Evergreen Bough Distress Ink. Then, using watered down white acrylic paint, I splattered the inside of the box, the background panel, and all the snow mound panels creating snow like texture.


After putting my box together, I stamped out my snowman images from the Snowman Kisses Stamps using Distress Ink in Antique Linen. I always use this ink with my no line watercoloring as it disappears when it touches water. I colored all my images using Derwent Inktense water soluble pencils. After coloring my images I cut them out using the corresponding Snowman Kisses Dies . I also used a candy cane image from the Penguin Party Stamps and used the Penguin Party Dies to cut them out. I adhered all my snowmen to my boxcard using Bearly Art Precision Craft Glue.

To make things even more super fun and festive, I die cut a bunch of tiny snowflakes from bristol smooth cardstock and placed them inside my card using tiny strips of clear acetate. The acetate creates the illusion that the snowflakes are floating because it is clear! I love this technique and use it all the time! I adhered the snowflakes to the tip of the acetate strip using Bearly Art Precision Craft Glue.
Moving on to the back of my card, I die cut a little rectangle and ink blended the edges using Candied Apple Distress ink, and stamped my sentiment in a red ink, and adhered my fourth snowman to the bottom of my panel for the cutest touch while leaving room for a personal note!
Thank you so much for joining me today for this week's Card Making Inspiration! I am so smitten with the way this card turned out and I smile everytime I see these snowmen! Have an amazing rest of the week and I wish you all the creative inspiration of the season! Until next time, Happy Cardmaking!!
-Marie


Comments
Post a Comment