Gift Tags With Sunny Studio Stamps


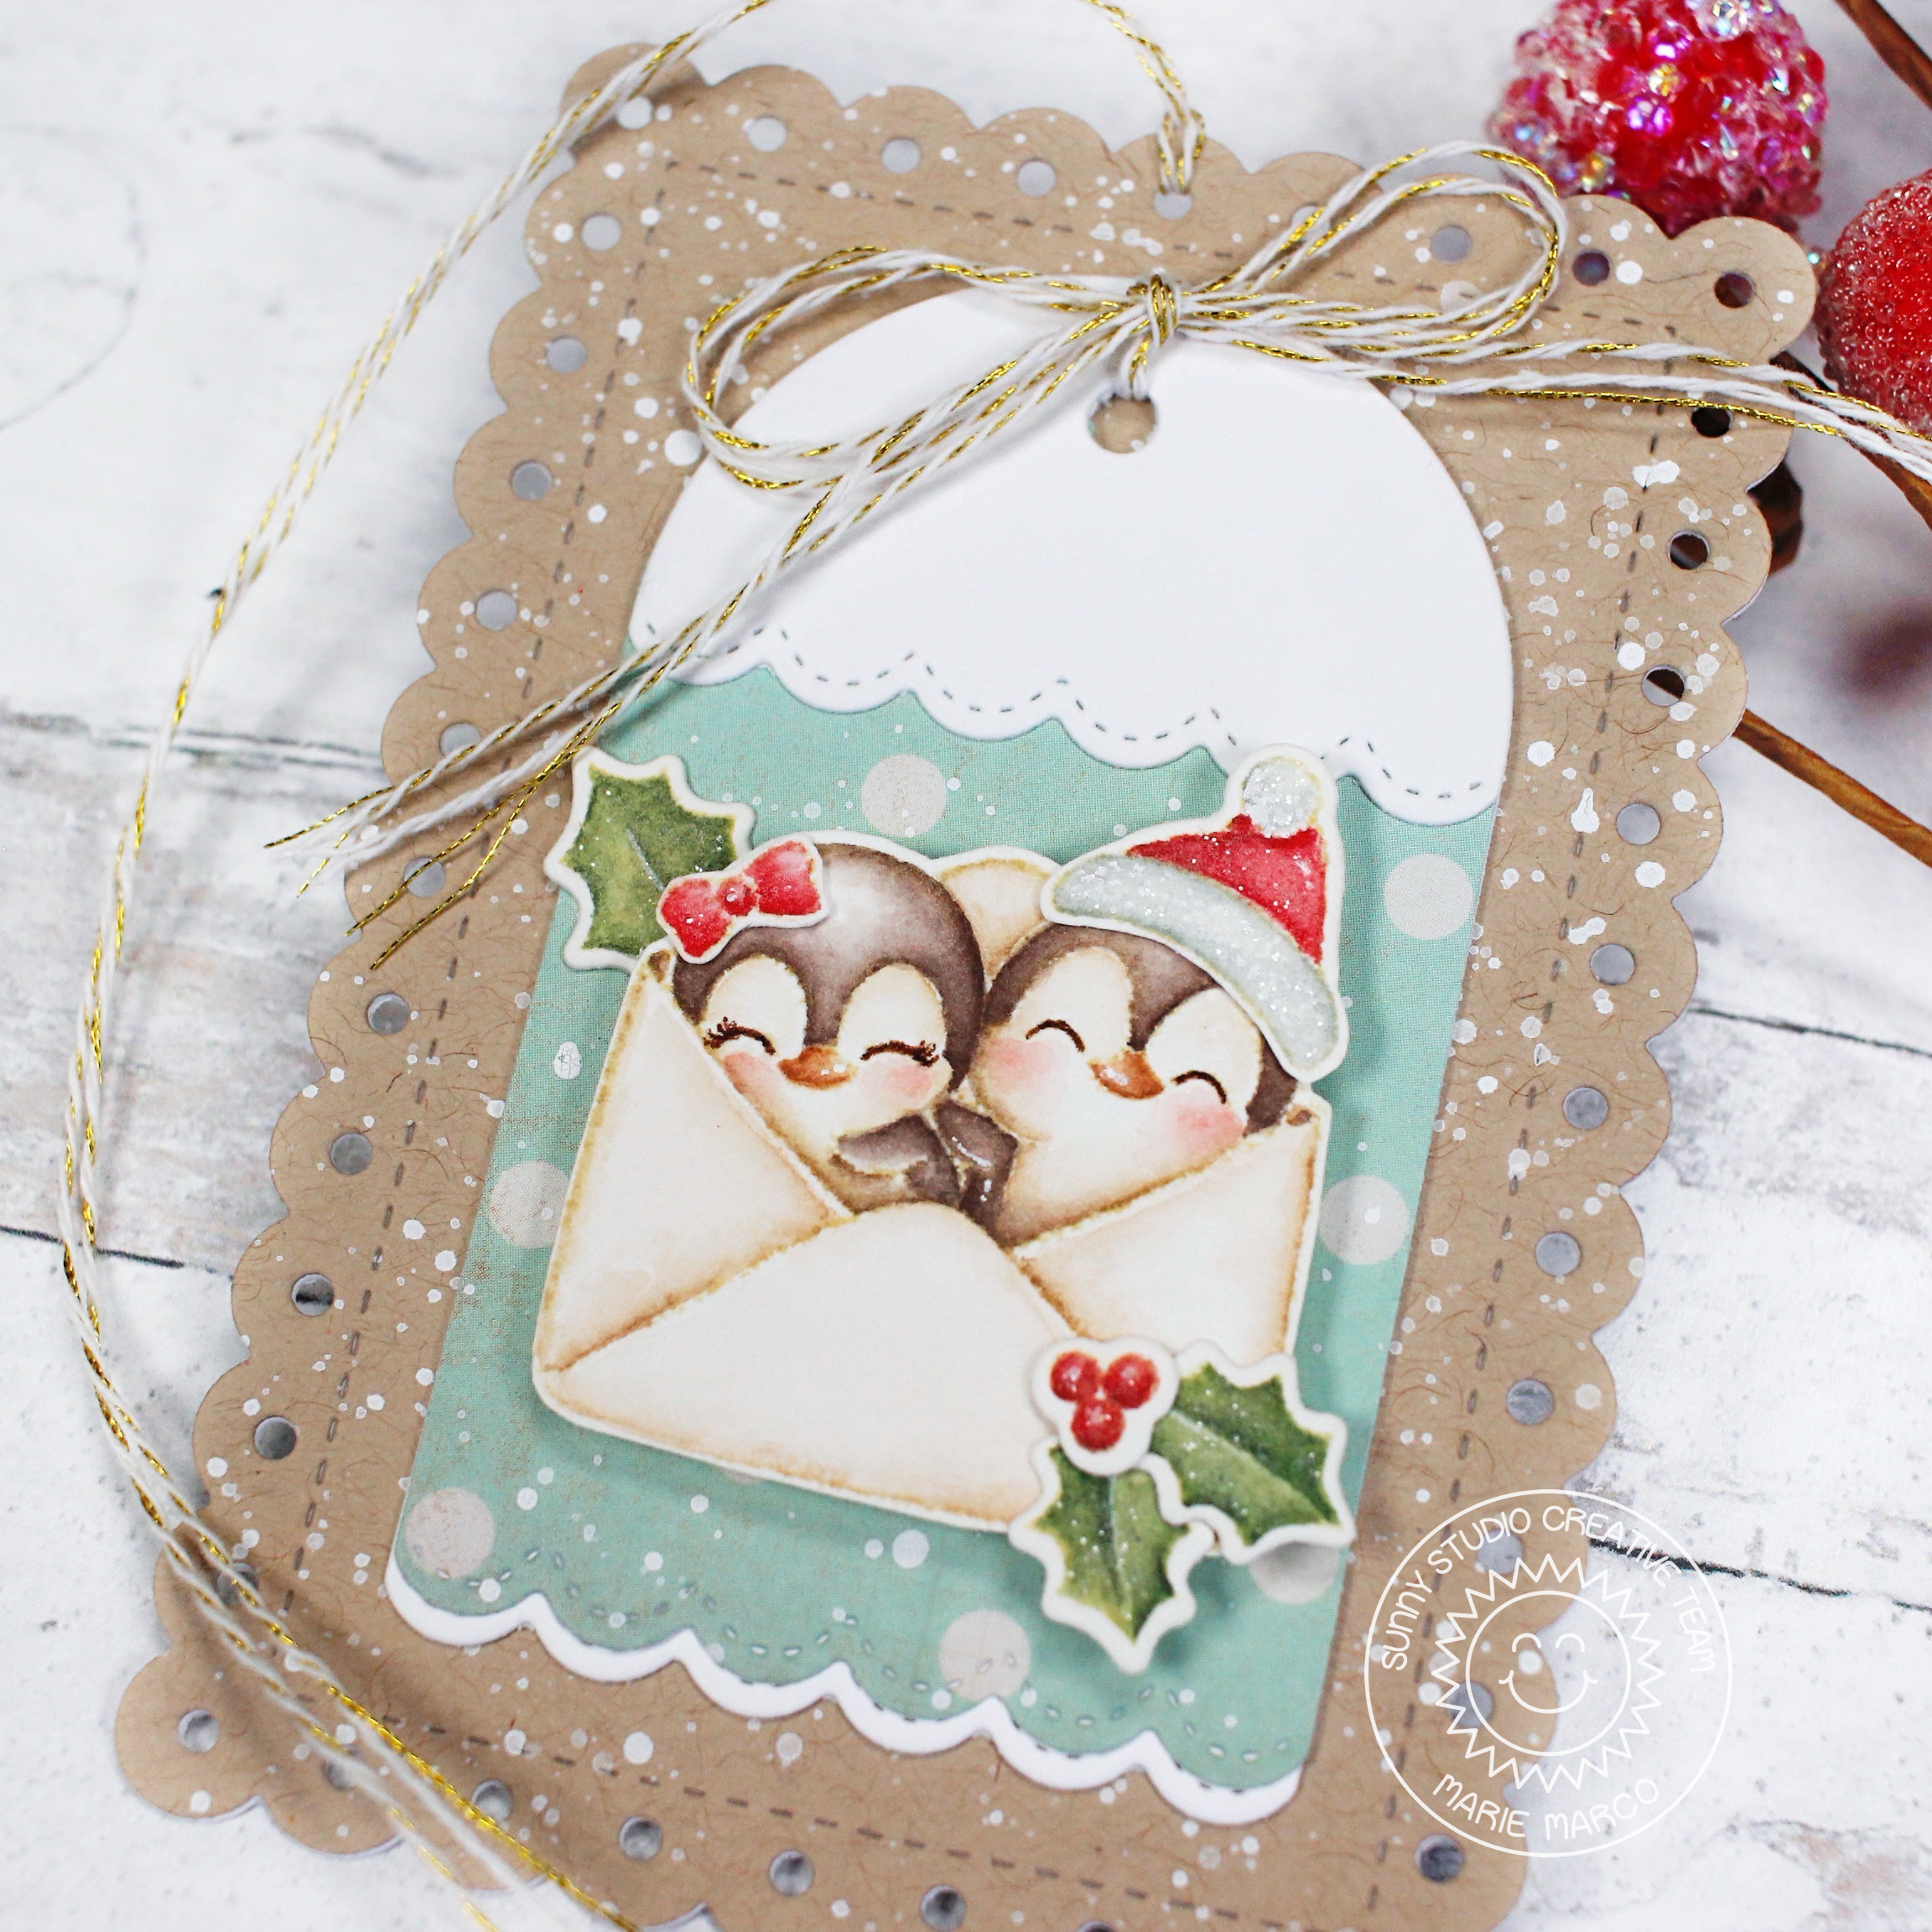
For my first tag, I used the Mini Mat & Tag 2 Dies . I start off by die cutting my tag from Neenah Solar White 110 lb heavyweight cardstock. I then die cut another tag from pattern paper and adhered it to the cardstock base moving it slightly upward to reveal a very subtle white scalloped border at the bottom of the tag. I then added the white tag top. I die cut some craft paper and adhere that to the mini mat base using double sided adhesive tape. I splattered both the tag and mini mat using a watered down white acrylic paint. I stamped out my adorable penguins in an envelope images from the Passionate Penguins Stamps onto watercolor paper. I colored my images using Faber- Castell Watercolor pencils. I wanted to turn this non Holiday image into something super festive so I dressed up my penguin with a Santa hat image from the Penguin Party Stamps and cut it out using the Penguin Party Dies . I also used some Holly Berries and leaves from the Winter Wreaths Stamps . I cut out the holly berries and leaves with the corresponding Winter Wreaths Dies . After fussy cutting my penguin image, I adhered it to my tag using double sided foam tape for dimension. I added some gold and white bakers twine tied in a bow to the top of of the tag and then adhered the tag to the mini mat using double sided tape adhesive. I then attached more twine to the top of the mini mat. I added some Ranger Grit Paste in "Snowfall" to the leaves and berries. I added Stickles in Sprinkled Sugar to the bow and santa hat. The grit paste and Stickles leave such a beautiful sugar crystal texture that sparkle and shine!


That does it for this week's crafty Holiday Tag inspiration! I hope you are all enjoying the Holiday Season! Christmas is coming so fast it's unbelievable! May you all have a memorable holiday full of all things fun and crafty! Until next time, MERRY CHRISTMAS!!! Love and Peace, Marie
Comments
Post a Comment